
Last updated September 10, 2026
Full 25-point door and opener safety check with every visit - springs, cables, rollers, tracks, and your LiftMaster or Chamberlain opener included
You get a price before we start. It does not change when the truck arrives.
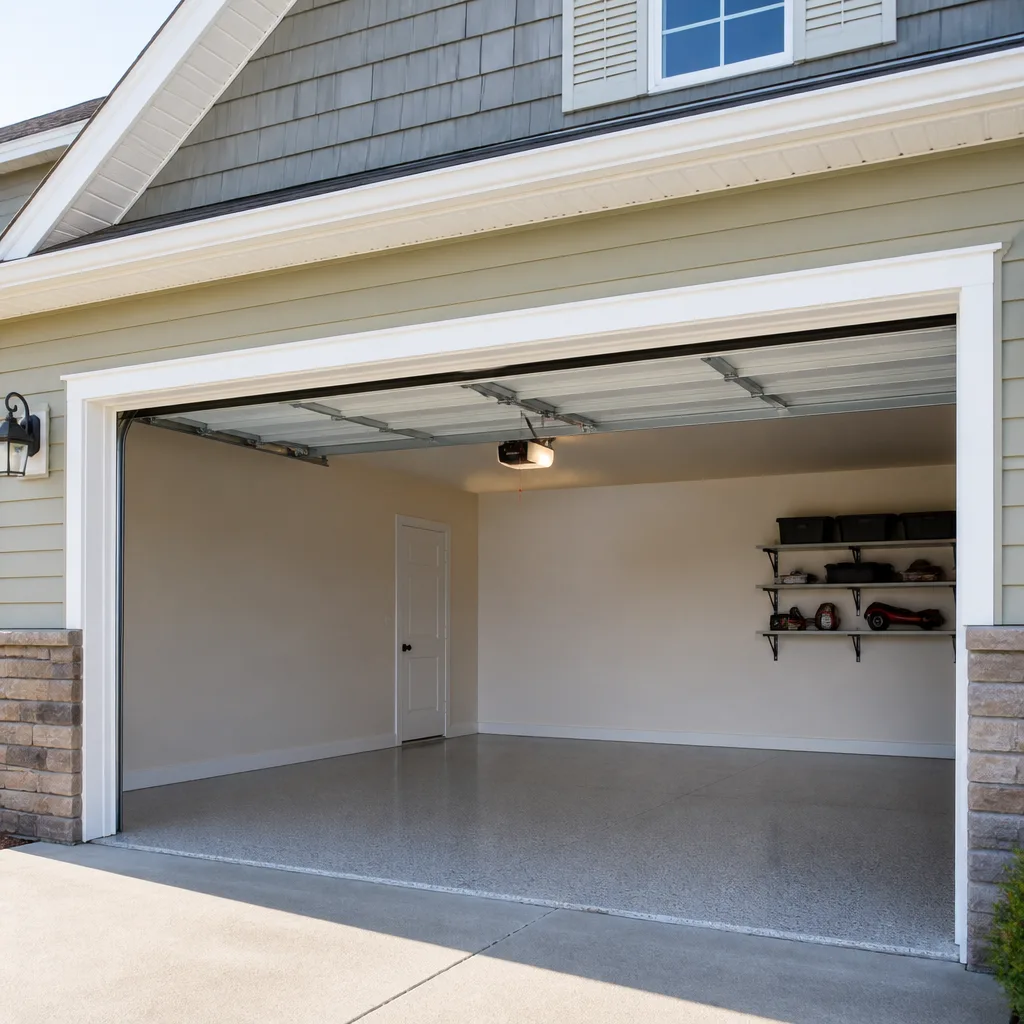
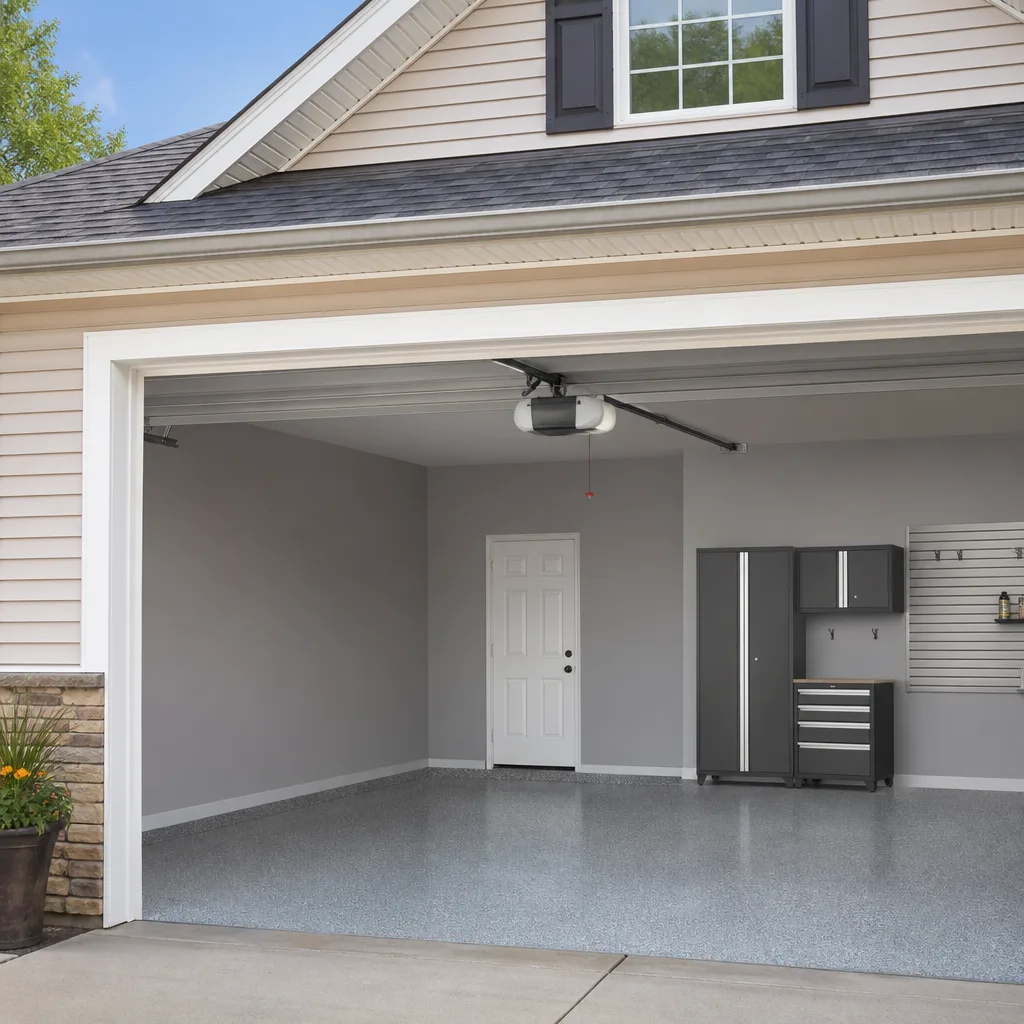
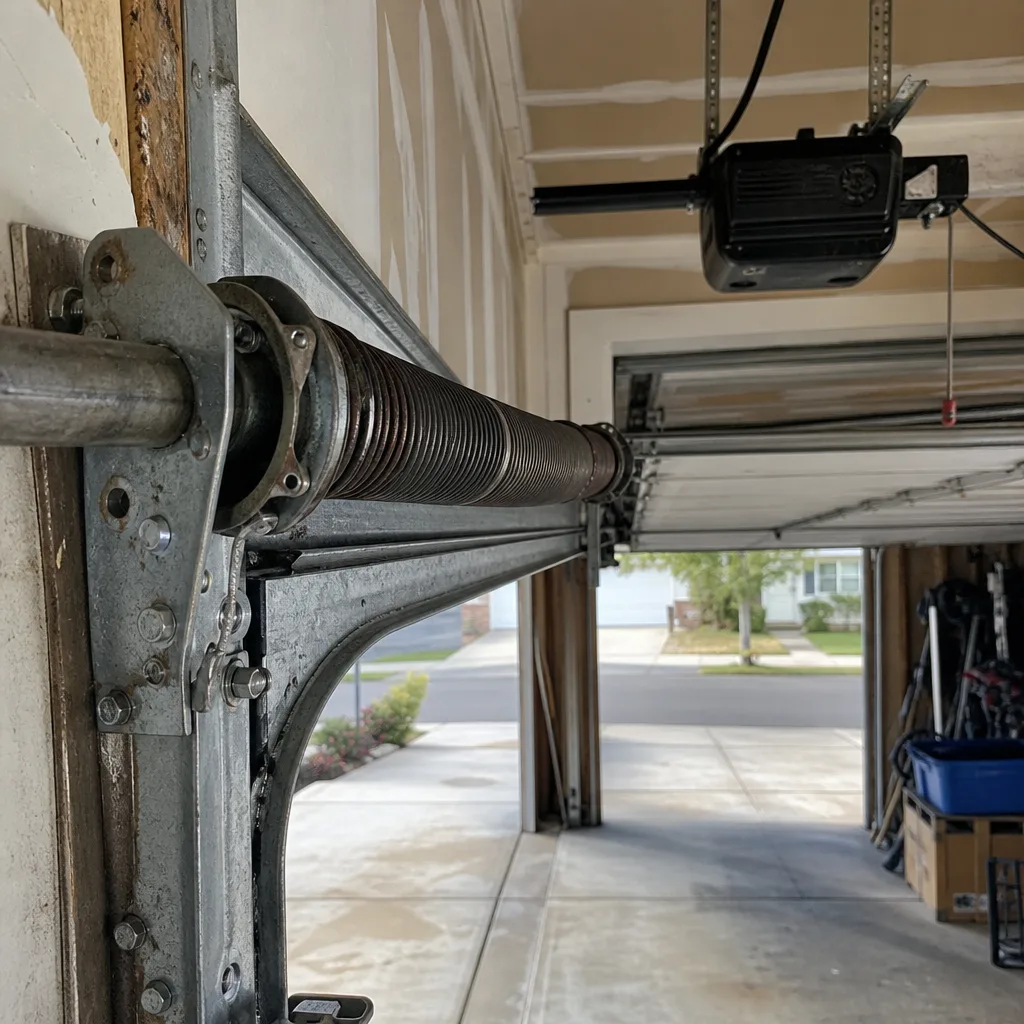 Before
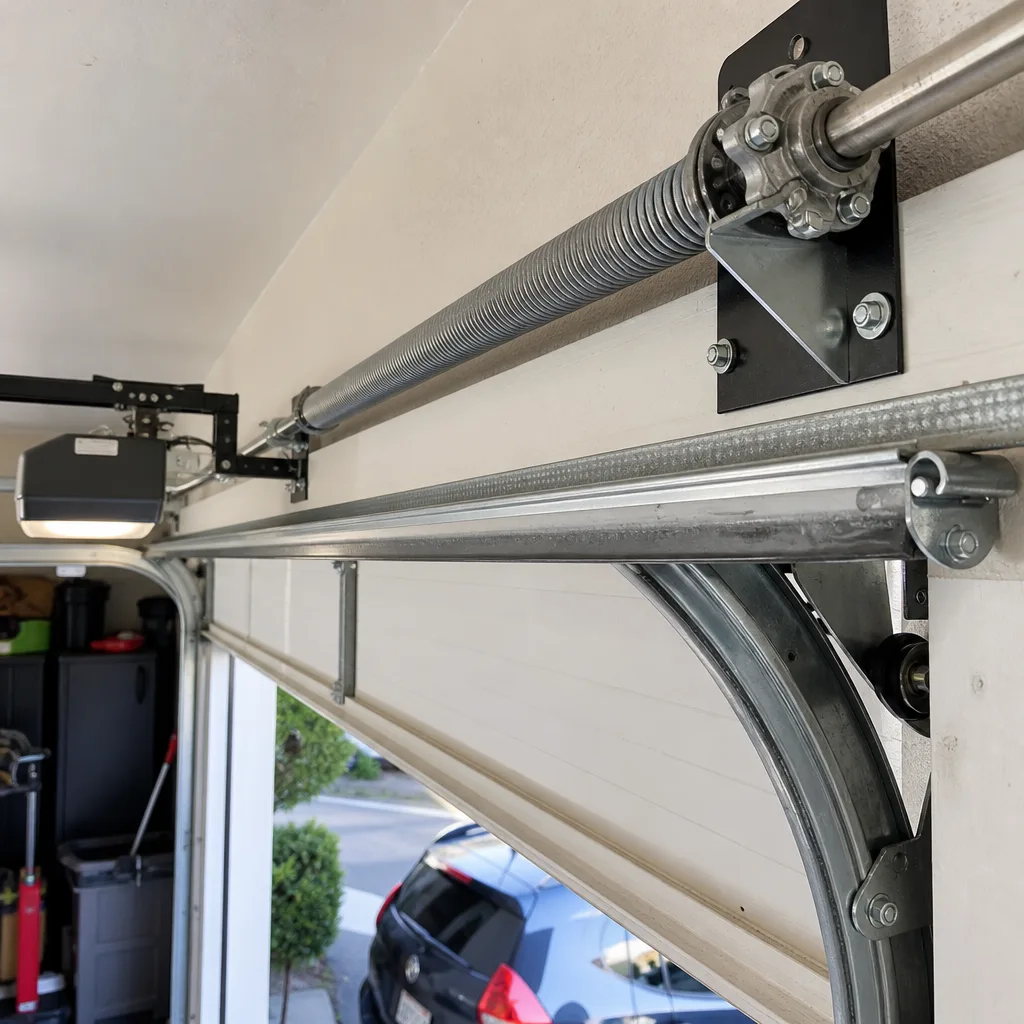 After
After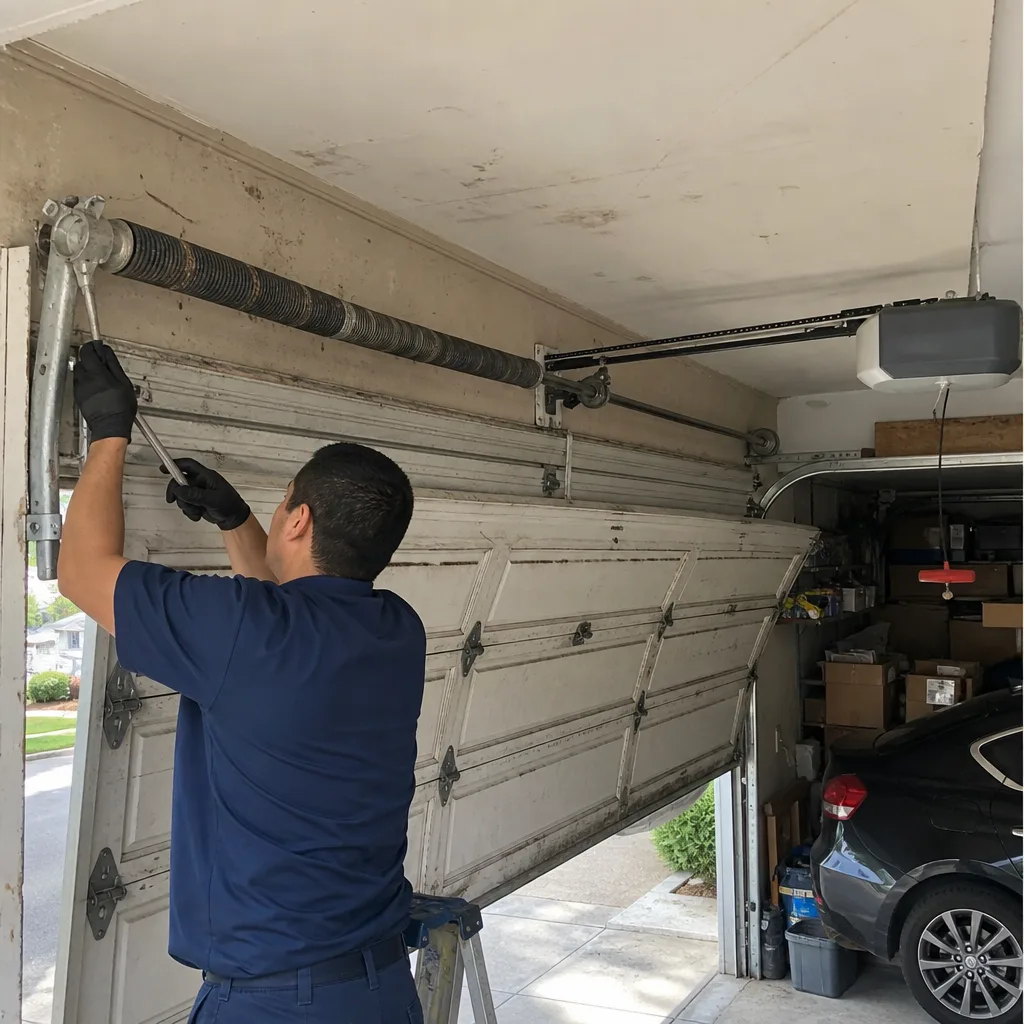 Before
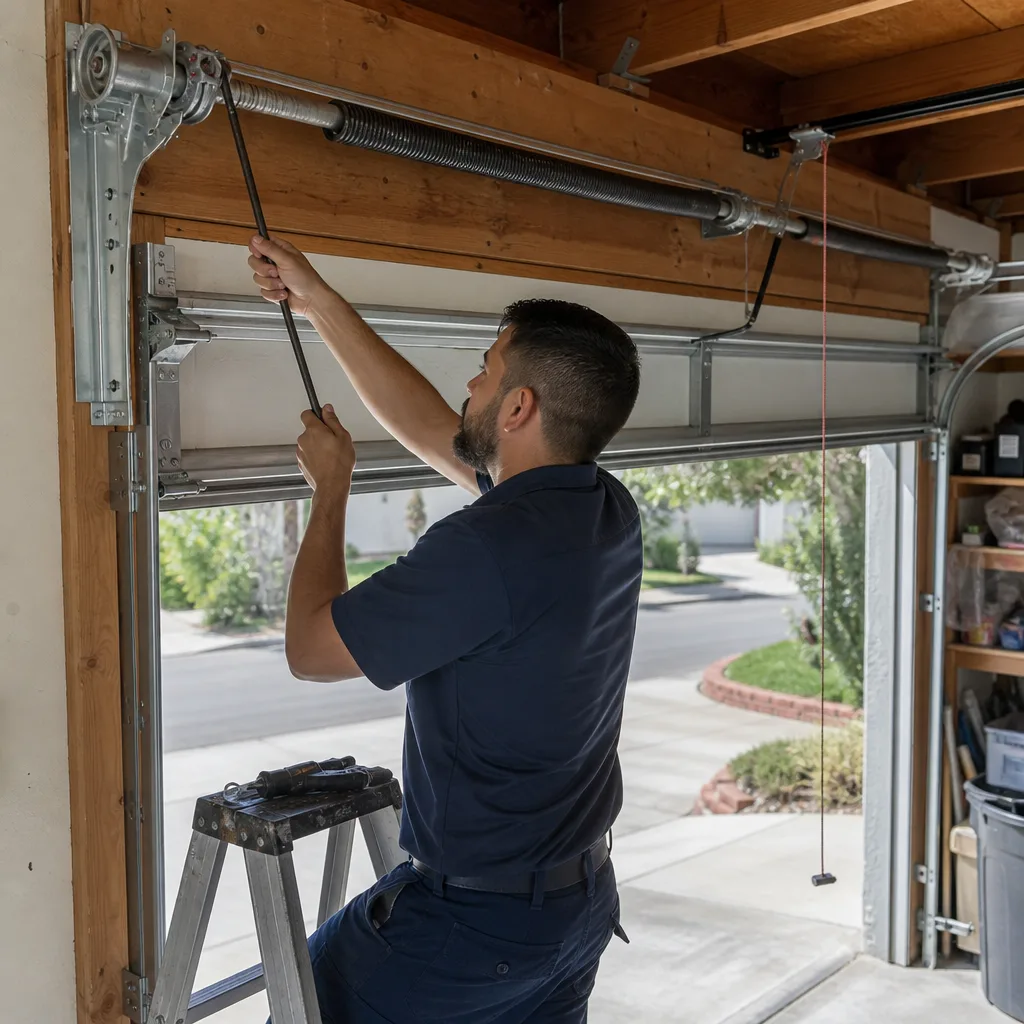 After
After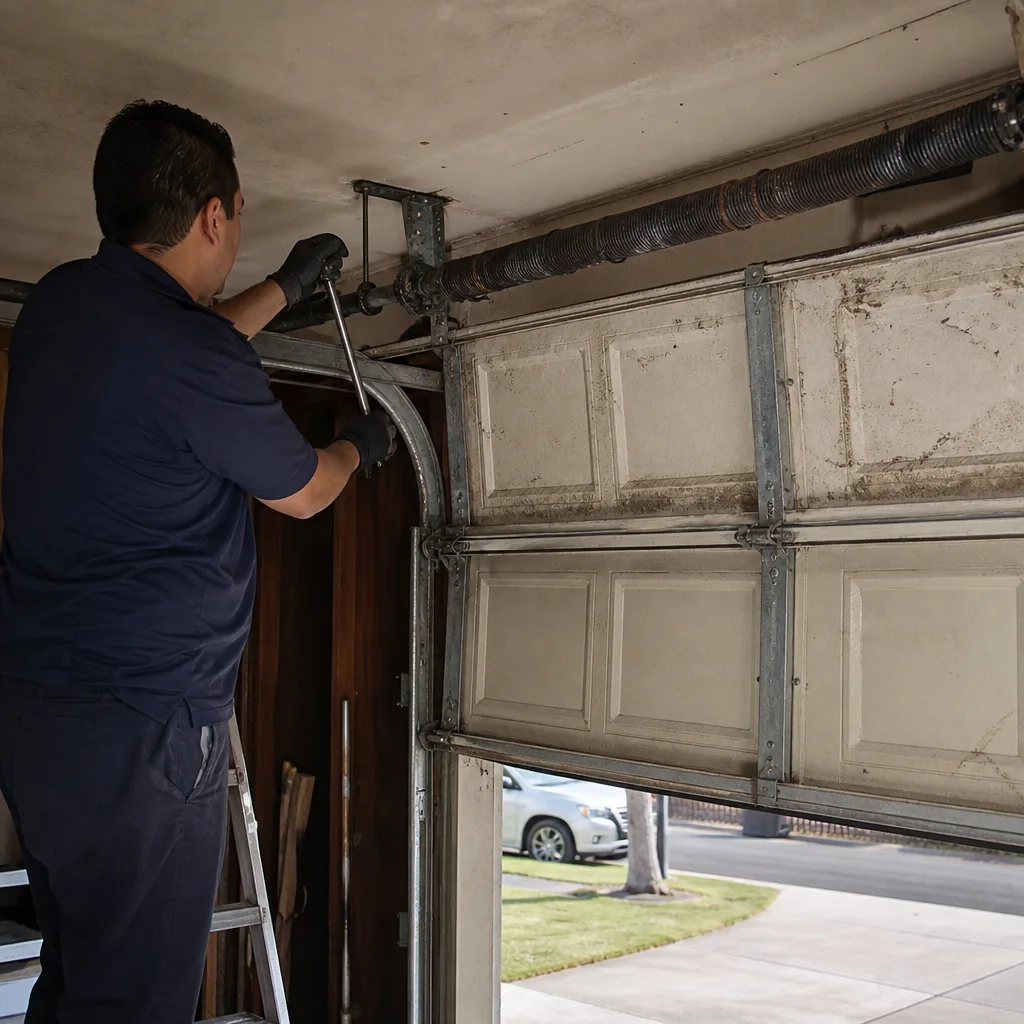 Before
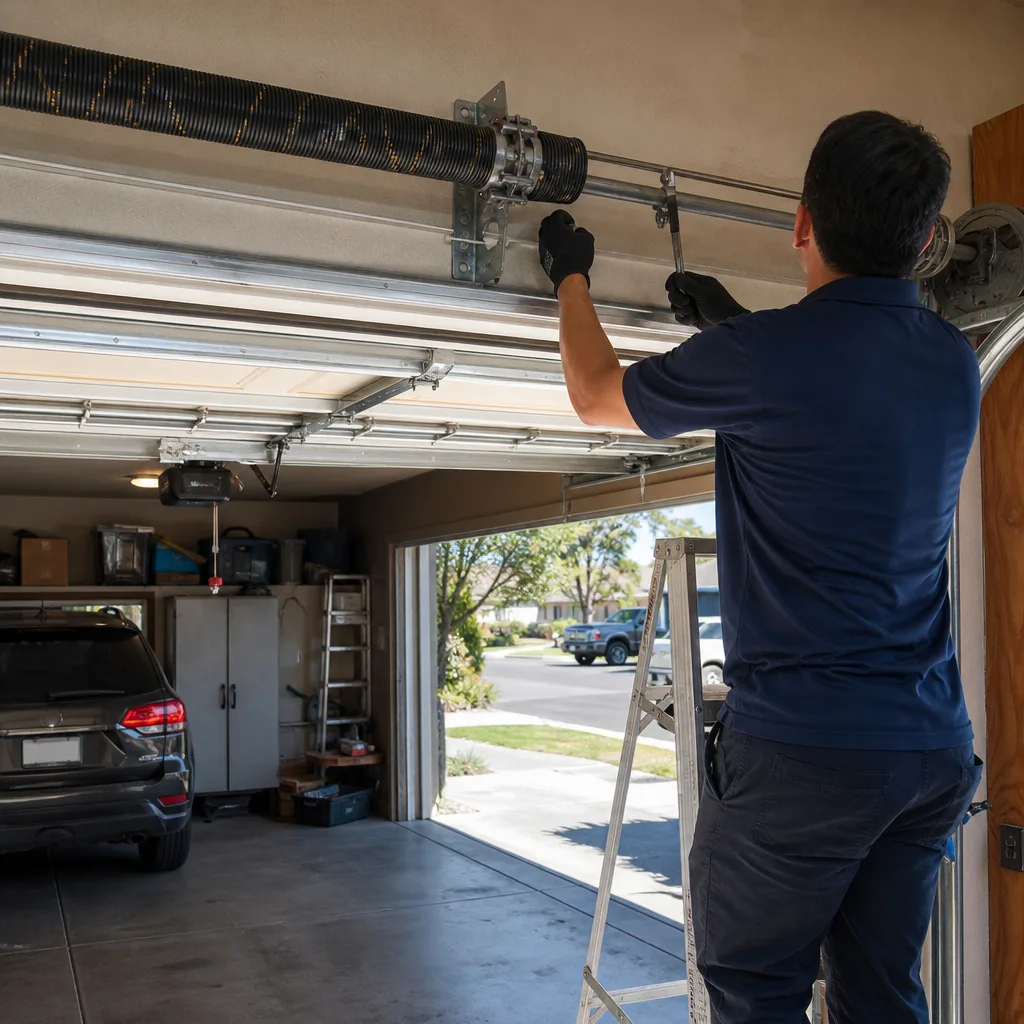 After
AfterGarage Door Repair Maintenance Checklist for Cypress Homeowners
A garage door doesn’t fail all at once. It fails in a predictable sequence, and most Cypress homeowners never see it coming until the opener strains, the springs snap, or the door hangs crooked in the track. In our 42 years serving Southern California, we’ve watched the same pattern repeat across Cypress neighborhoods from the older ranch homes near Cypress College to the newer builds off Katella Avenue. The good news: a 10-minute monthly inspection, done in the right order, can stop a $90 lubrication job from becoming a $600 spring replacement. This guide walks you through that sequence, step by step, with the specific products and methods that hold up in Cypress’s dry-heat climate. For related reading, see our Garage Door Warning Signs: A Cypress Homeowner’s Reference Guide.
Quick Answer
Garage door maintenance for Cypress homeowners means a monthly 10-minute inspection following the actual failure sequence: rollers and hinges first, spring balance second, opener and safety systems third. Use silicone-based lubricant rated for 100°F+ temperatures, never WD-40, and test spring balance by disconnecting the opener and lifting the door manually to the halfway point. If it doesn’t stay put, the springs are fatigued and need professional adjustment.
Table of Contents
- The Failure Sequence: How Garage Doors Actually Break Down
- Monthly Visual Inspection: Rollers, Hinges, and Hardware
- The 60-Second Spring Balance Test
- Lubrication That Works in Cypress’s Dry Heat
- Opener Force Settings and Safety Reversal Test
- Weatherstripping and Concrete Slab Gap Inspection
- Annual Deep Maintenance Tasks
- What Homeowners Should Never Adjust Themselves
The Failure Sequence: How Garage Doors Actually Break Down
Most maintenance checklists organize tasks by convenience: look at this, look at that, done. We organize them by cause and effect, because that’s how the door actually fails.
Stage one: roller and hinge wear. These are the only moving parts that touch the track on every cycle. In Cypress, where summer temperatures regularly hit the high 90s and low 100s, the factory grease in roller bearings dries to a paste within 18 to 24 months. Hinge pins develop play. The door starts to rattle, but it still opens. Most homeowners ignore the noise.
Stage two: load imbalance reaches the springs. As rollers drag and hinges bind, the door no longer moves evenly. The torsion springs, which carry the full weight of the door, compensate by working harder on one side. One spring fatigues faster than its partner. The door develops a slight tilt, often visible only when you stand inside the garage and look up at the bottom seal.
Stage three: opener overload and final failure. The opener, designed to lift a balanced door, now fights against spring imbalance and mechanical drag. The motor works harder, the drive gear wears, and the safety systems become unreliable. Eventually something gives: a spring snaps, a cable jumps its drum, or the opener’s logic board fails from repeated overcurrent.
We’ve replaced more openers in Cypress that died from lifting an unbalanced door than from actual motor failure. The garage door repair in Cypress that could have been prevented with a $12 can of proper lubricant and 10 minutes a month.
Your monthly inspection should follow this same sequence. Catch stage one, and stages two and three never arrive.
Monthly Visual Inspection: Rollers, Hinges, and Hardware
This is stage-one detection. Set a phone timer for 10 minutes. Work top to bottom, one side at a time, with the door closed and the opener disconnected.
What to Look For
- Roller condition. Steel rollers should spin freely when you flick them with a finger. Nylon rollers should show no cracks or flat spots where they’ve stopped rolling and started sliding. In Cypress’s heat, nylon rollers often harden and develop a glazed surface before they crack. If a roller wobbles in the track or you see metal shavings on the rail below, it’s failing.
- Hinge pin play. Grab each hinge and try to move the door section it’s attached to, side to side. Any noticeable play means the hinge pin is wallowing out its hole. A loose hinge transfers stress to the door panel and the track, accelerating wear in both.
- Track alignment. The vertical tracks should be perfectly plumb. Use a level if you’re unsure, or sight along the track edge: any bend, kink, or gap between track and roller is a problem. In older Cypress homes with original garages, we’ve found tracks that have settled with the foundation, creating a subtle bow that rollers climb over on every cycle.
- Fastener tightness. Check every visible bolt and lag screw. Vibration loosens hardware over hundreds of cycles. Pay special attention to the track mounting brackets where they attach to the wall framing and the opener rail supports.
- Cable condition. Look for fraying, rust, or broken strands, especially where the cable wraps around the bottom fixture. In Cypress’s dry climate, rust is less common than in coastal Orange County, but we’ve seen cable corrosion from sprinkler overspray hitting the bottom of the door and wicking up the cable.
What you do with what you find matters. A loose bolt gets tightened. A worn roller gets scheduled for replacement. A frayed cable means you stop using the door and call for service. The boundary between homeowner maintenance and professional repair is clear: if it requires tools beyond a socket set and a ladder, or if it involves anything under tension, it’s not a DIY task.
The 60-Second Spring Balance Test
This test reveals stage two before it becomes a failure. It requires no tools. It tells you whether your torsion springs are still doing their job, or whether they’re fatigued and passing load to your opener.
How to Perform the Test
- Close the door fully.
- Pull the red emergency release cord to disconnect the opener trolley from the door arm.
- Standing inside the garage, grasp the door handle or a bottom section and lift smoothly with both hands.
- The door should lift with moderate, even effort. If it feels heavy, or if one side rises faster than the other, the springs are imbalanced.
- Raise the door to the halfway-open position and release it gently.
- A properly balanced door will stay at halfway, or drift slowly up or down no more than 6 inches.
- A door that falls closed has weak or fatigued springs. A door that rises on its own has excessive spring tension.
What the results mean: A door that won’t hold at halfway is telling you the springs are approaching end of life. In Cypress’s climate, where temperature swings from 50°F winter mornings to 100°F summer afternoons stress the metal, torsion springs typically last 8,000 to 12,000 cycles. For a household that uses the garage as primary entry, that’s 5 to 7 years. A door that drifts down from halfway is maybe a year from failure. A door that crashes down is already dangerous.
Never adjust torsion springs yourself. The torque stored in a standard residential spring, roughly 100 to 150 foot-pounds, can maim or kill. We’ve seen homeowners who tried to “tighten” a spring with a pair of pliers and a pipe wrench. The results are not pretty. This test is diagnostic only. If your door fails it, call a professional for Garage Door Repair.
At Mainspring Garage Door Co. home, we include this balance check in every garage door repair in Cypress we perform, and we offer it as part of our $89 Seasonal Tune-Up. The test takes us two minutes. The information it gives you is worth far more.
Lubrication That Works in Cypress’s Dry Heat
This is where most maintenance guides fail Cypress homeowners. They recommend products that work in Michigan or Florida and turn to dust or gum in Southern California’s dry heat.
What to Use
- Silicone-based spray lubricant rated for temperatures above 100°F. Look for products that specify “non-drying” or “stable to 400°F.” The silicone carrier evaporates, leaving a film that doesn’t attract dust.
- White lithium grease for screw-drive opener rails. Apply thinly; excess collects grit.
- Light machine oil for hinge pins, applied with a rag to control quantity.
What to Avoid
- WD-40. It is a solvent and water displacer, not a lubricant. It cleans, then evaporates, leaving metal bare. Within a week of application in Cypress dust, it’s worse than nothing.
- Heavy grease or bearing grease. These attract and hold airborne dust. In our dry climate, that dust becomes an abrasive paste. We’ve replaced rollers that were “maintained” with wheel bearing grease and ground themselves to failure in 18 months.
- Graphite lubricants. Effective on locks, but on garage door components they stain and provide no corrosion protection.
Where and How to Apply
- Hinge pins: One short spray or a drop of oil at the pin joint. Work the door up and down to distribute. Wipe excess.
- Roller bearings: If steel rollers, spray the bearing at the roller stem where it enters the wheel. If nylon rollers with sealed bearings, do not lubricate; the seal is there for a reason.
- Spring coils: Light spray across the top of the torsion spring where the coils touch. This reduces coil-on-coil friction. Do not touch the spring with your hand during or after; the lubricant transfers, and the spring is under tension.
- Track interior: Do not lubricate. The track is not a bearing surface. Lubricant here collects dust and creates a slurry that accelerates roller wear.
- Opener rail: Follow manufacturer guidance. Chain drives need light chain lube; belt drives need none; screw drives need white lithium grease every 2 years.
Frequency: monthly in summer, every two months in winter. The day after you pay your electric bill is an easy memory trigger.
Opener Force Settings and Safety Reversal Test
Stage three begins with opener strain. These tests detect whether your opener is already compensating for mechanical problems, or whether its safety systems would actually protect someone caught beneath a closing door.
Force Setting Test
With the door disconnected from the opener (emergency release cord), lift and lower it manually. Note the effort required. Reconnect the opener. Now activate the door and observe: does the opener seem to struggle at any point? Does it hesitate, surge, or make grinding noises? Modern openers, especially Craftsman and Raynor models common in Cypress subdivisions built in the 1990s and 2000s, have force adjustment dials on the motor head. If you’ve ever adjusted these upward because the door “wouldn’t close all the way,” you’ve masked a mechanical problem and increased the crushing force the door can apply.
The correct approach: restore the force settings to factory baseline (usually marked on the label), then fix the underlying mechanical issue. A door in good condition should operate at minimum force settings.
Safety Reversal Test
- Place a 2×4 board flat on the floor, centered under the door path.
- Close the door using the remote or wall button.
- When the door contacts the board, it must reverse within 2 seconds and return to fully open.
- If it stops on the board, hesitates, or continues downward, the safety system has failed.
Test the photoelectric sensors as well: wave a broomstick through the beam while the door is closing. It should reverse immediately. Clean sensor lenses monthly; Cypress’s Santa Ana winds deposit fine dust that can scatter the beam.
Failed safety reversal is not a maintenance item. It’s a repair. The federal UL 325 standard mandates this function, and a door that fails it is a liability. We repair or replace failed safety systems same-day in most cases, with the parts already on our truck.
Weatherstripping and Concrete Slab Gap Inspection
This section addresses a problem specific to Southern California slab-on-grade construction, common throughout Cypress from the original 1960s tracts to newer infill development.
As concrete slabs settle and cure over decades, they often develop a slight gap between slab edge and the garage door frame. The standard vinyl or rubber bottom seal on your door is designed to compress against a flat surface. It cannot bridge a gap. We’ve inspected doors in the Wayne Dalton and Amarr product lines, popular in Cypress for their insulation value, where the bottom seal appeared intact but daylight was visible beneath it because the slab had settled 3/8 inch at the center.
What to Check
- Bottom seal condition: Look for cracking, flattening, or hardening. In Cypress heat, vinyl seals often harden within 4 to 5 years and lose their ability to conform.
- Seal-to-slab contact: Close the door and look for daylight from inside. Any visible gap means the seal isn’t sealing.
- Slab surface condition: Spalling, cracking, or a crowned center can prevent even contact. A minor high spot can be ground down; a major settlement issue may need slab leveling before a seal will work.
- Side and top weatherstripping: The vinyl or brush seals on the door frame should contact the door surface lightly when closed. Gaps here admit dust, which in Cypress’s dry climate means everything in your garage needs more frequent cleaning.
For slab gaps up to 1/2 inch, a bulb-type or T-style bottom seal with a wider contact surface may solve the problem. For larger gaps, or where the slab has settled unevenly, we install a vinyl threshold seal on the floor itself, creating a dam that the door bottom seal compresses against. This is a permanent fix we’ve applied in dozens of Cypress garages.
Annual Deep Maintenance Tasks
Once a year, set aside an hour for tasks that don’t fit a monthly routine. We recommend doing this in October, before the holiday season puts extra cycles on your door and before winter temperature swings stress metal components.
- Comprehensive hardware inspection. Every bolt, nut, and fastener in the door system, including track brackets, opener mounting hardware, and the fasteners holding the door sections together. Torque to manufacturer specification; over-tightening strips lag screws in older wood framing.
- Cable and drum inspection. Look for cable wear where it wraps the drum, and for drum surface scoring. In Cypress, we’ve found drums damaged by homeowners who tried to “fix” a cable jump with a hammer, distorting the precision-machined groove.
- Spring cycle count estimation. If you know your door’s age and your household’s usage pattern, estimate remaining spring life. Most torsion springs are rated for 10,000 cycles. At 4 cycles per day, that’s roughly 7 years. If you’re approaching the limit, replacement before failure avoids the inconvenience of a trapped car and the potential safety hazard of a snapped spring.
- Opener rail and chain/belt condition. Check chain tension (about 1/2 inch slack at midpoint). Inspect belt drives for cracking or fraying. Lubricate screw-drive rails.
- Remote and keypad battery replacement. Weak batteries cause intermittent operation that homeowners often misdiagnose as opener failure. Replace proactively; the $6 in batteries saves a service call.
- Panel and paint condition. Steel doors in Cypress’s sun can develop finish failure on the south and west exposures. Catching rust early means sanding and touch-up, not panel replacement.
Our $89 Seasonal Tune-Up covers all of these tasks, performed by a journeyman technician who will also give you a written assessment of remaining component life. No upsell, no pressure. A square deal, with the price stated before any work begins.
What Homeowners Should Never Adjust Themselves
This boundary is not about protecting our business. It’s about physics that don’t forgive mistakes.
Torsion springs and spring hardware. A standard 16-foot wide residential door has two torsion springs, each wound to 100 to 150 foot-pounds of torque. The winding cones are under load even when the door is open. The specialized winding bars used to add or release tension are solid steel, 18 inches long, inserted into the cogs of the winding cone. If a bar slips or a cone cracks, that stored energy releases instantly. We’ve seen broken wrists, facial fractures, and worse. The tools cost $40; the ER visit costs $4,000. The risk is not proportional.
Cable tension and drum set screws. The cables that lift your door are under the same spring tension. A cable that jumps its drum must be re-wound with the door secured and the spring tension managed. Doing this with the door simply “propped open” is how cables snap across garages at lethal speed.
Opener force limits beyond minor adjustment. The force dials on your opener are calibrated to the door’s actual weight and balance. Cranking them up to overcome a mechanical problem increases the crushing force from the nominal 15 pounds to 50 pounds or more. A child or pet trapped beneath a misadjusted door suffers serious injury.
Track alignment and bending. Tracks must be parallel to within 1/4 inch and perfectly level. A homeowner with a hammer and good intentions often creates a compound misalignment that wears rollers and binds the door. We have specialized track tools and measuring equipment for this.
What you can safely do: the monthly inspection, the balance test, lubrication, hardware tightening, sensor cleaning, and weatherstripping replacement. These are maintenance. Everything else is repair, and repair deserves a trained professional.
Common Mistakes to Avoid
- Using WD-40 as a lubricant. We’ve said it before because we see it constantly. In Cypress’s dry climate, WD-40 evaporates within days and leaves a residue that attracts dust. The resulting abrasive paste destroys bearings.
- Ignoring a noisy door. Grinding, squealing, or rattling is the door telling you stage one has begun. The noise won’t go away; it will be joined by other symptoms, each more expensive than the last.
- Adjusting opener force to “fix” a heavy door. This masks spring fatigue and turns your opener into a replacement waiting to happen. We’ve replaced LiftMaster and Chamberlain units in Cypress that died years early from this exact mistake.
- Skipping the monthly inspection because “it was fine last month.” Component failure accelerates. A roller that was slightly worn in March can be catastrophically failed in May. The 10 minutes is insurance, not waste.
- DIY spring replacement from online tutorials. The tutorials never show the failures. They don’t mention the homeowner who lost fingers when a winding bar slipped, or the one whose door crashed down when they removed both springs simultaneously. These are real cases from our files.
- Neglecting weatherstripping in “mild” climate. Cypress doesn’t freeze, but summer dust, winter rain, and rodent entry are real problems. A failed bottom seal means your garage becomes the neighborhood cat shelter and your stored items accumulate a film of freeway dust.
- Calling the cheapest bid for emergency repair without asking about warranty. A repair without written warranty is a gamble. Our 90-Day Done Right Promise means if it’s not right, we come back. No paperwork, no arguing. In writing on every job.
When to Call a Professional
Call when your monthly inspection reveals spring imbalance, cable wear, track damage, or opener strain. Call when the door makes new noises, moves unevenly, or reverses unexpectedly. Call after any impact, whether from a vehicle, a basketball, or Santa Ana wind debris. Call if your safety reversal test fails, period.
We’ve served Cypress homeowners since 2016, and our technicians arrive with springs, cables, rollers, and openers already on the truck. Most repairs finish in a single visit. The price is stated and agreed before any work begins, so there are no surprises on the bill. Garage door installation in Cypress and garage door opener in Cypress services are also available when repair is no longer the economical choice.
Mainspring Garage Door Co. offers free estimates in Cypress. Call (626) 593-8187. A live person answers, 24/7, including nights, weekends, and holidays. For How to Hire a Garage Door Contractor in Cypress: A Step-by-Step Guide, see our blog.
Frequently Asked Questions
A 10-minute visual inspection and lubrication should happen monthly, with a comprehensive annual service every fall. Cypress’s dry heat and temperature swings between seasons accelerate wear on rollers and springs, so monthly attention catches problems before they compound.
DIY maintenance costs $12 to $20 for proper lubricant. Professional tune-ups run $89 to $150. Our Seasonal Tune-Up is $89 and includes balance testing, safety reversal verification, hardware inspection, and lubrication with products rated for local temperatures. Call (626) 593-8187 to schedule.
Homeowners can safely perform monthly inspections, lubrication, sensor cleaning, and weatherstripping checks. Any work involving springs, cables, or opener force calibration requires a trained technician. The boundary is clear: if it stores energy or could release tension unexpectedly, it’s not a DIY task.
Standard torsion springs last 8,000 to 12,000 cycles, typically 5 to 7 years for a household using the garage as primary entry. Cypress’s temperature extremes, summer heat above 100°F and winter mornings near 50°F, create thermal cycling that slightly accelerates metal fatigue compared to more stable coastal climates.
Noise after lubrication usually means the problem is not friction but mechanical wear: loose hinges, worn roller bearings, or spring imbalance forcing components to work against each other. In Cypress, we’ve traced persistent squeals to cracked nylon rollers that appeared fine visually but had lost their internal bearings to dust infiltration.
No. Mainspring states the flat price before any work begins. If our technician finds additional problems during inspection, you’ll get a separate written quote with no pressure. The agreed price for the agreed work is the price you pay. We’ve operated this way since 1984.
The Bottom Line
Garage door maintenance is not complicated, but it must follow the actual failure sequence to be effective. Inspect rollers and hinges monthly. Test spring balance seasonally. Lubricate with products rated for Cypress heat. Never adjust anything under tension. Know when to call a professional, and choose one who states the price upfront, arrives with parts on the truck, and stands behind the work in writing. Explore our blog for more guides & resources.
A well-maintained door operates quietly, safely, and for years beyond its expected service life. A neglected door fails on its own schedule, usually at the worst possible moment. The 10 minutes a month is a small investment in reliability, and in never having to think about your garage door again.
Written by Carl Dutton, Owner at Mainspring Garage Door Co., serving Cypress since 2016.